Platform Flow Documentation
This guide walks through the end-to-end payment flow within the MettPay Merchant Portal — from creating a payment link to receiving a confirmed receipt.
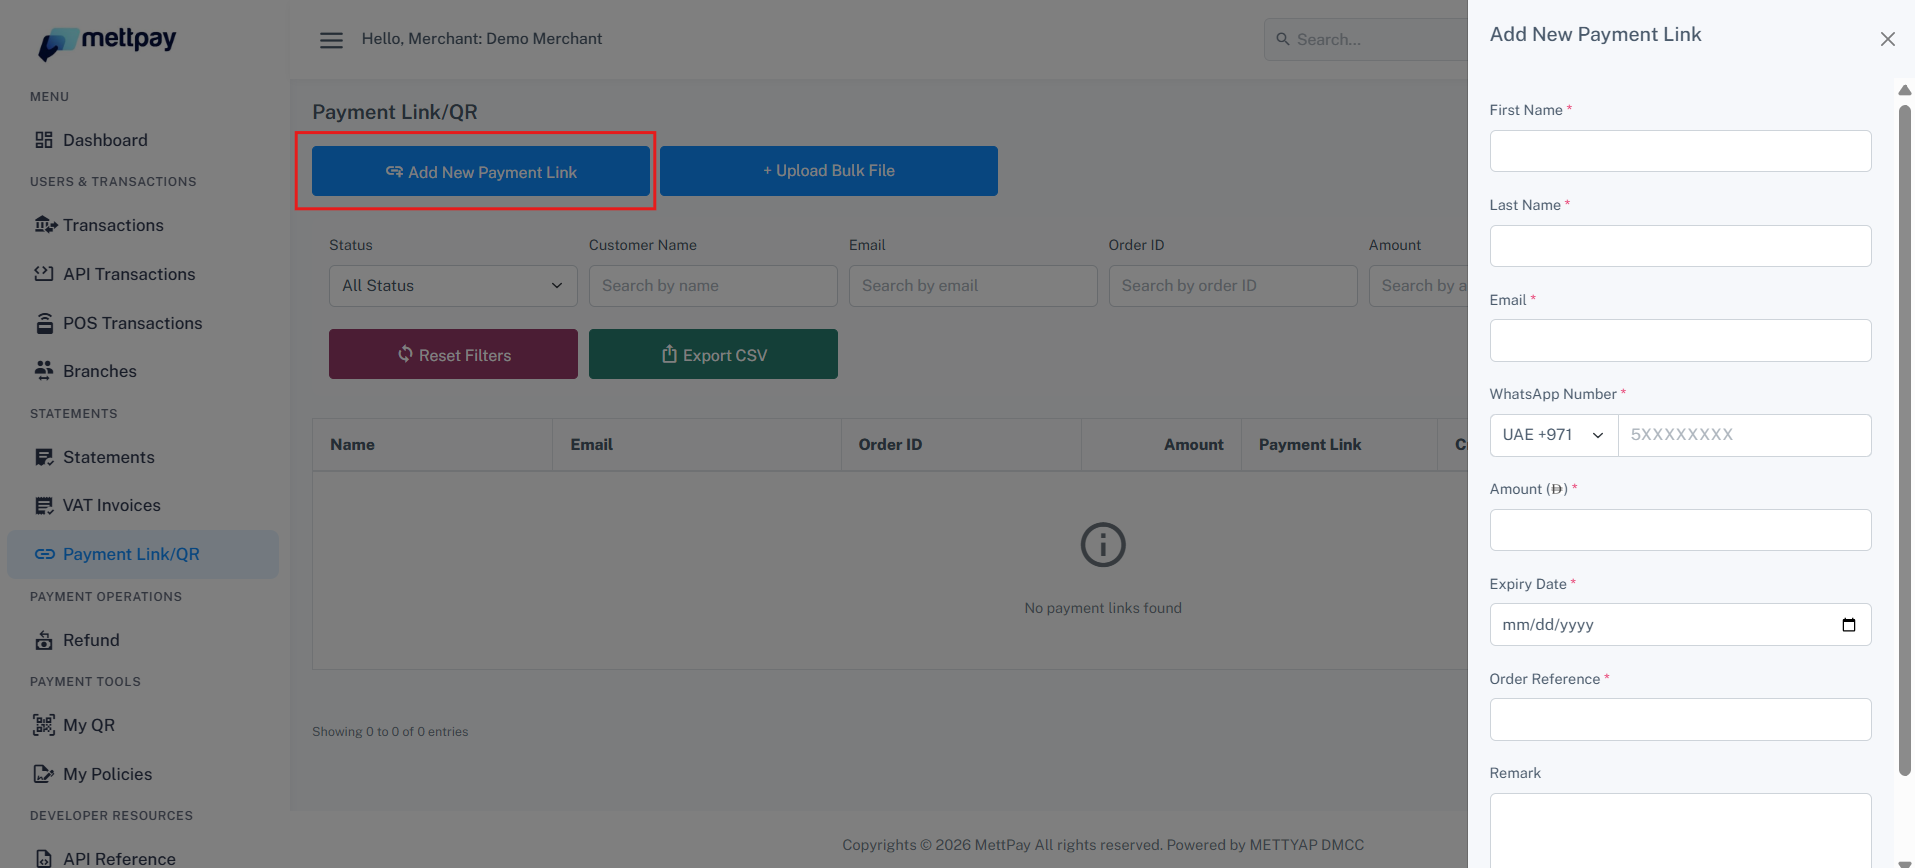
Log In and Create a Payment Link
After logging into the portal, navigate to the Payment Links tab and click "Add New Payment Link". This will open a side panel where you can enter the order details.

Enter Order Details and Submit
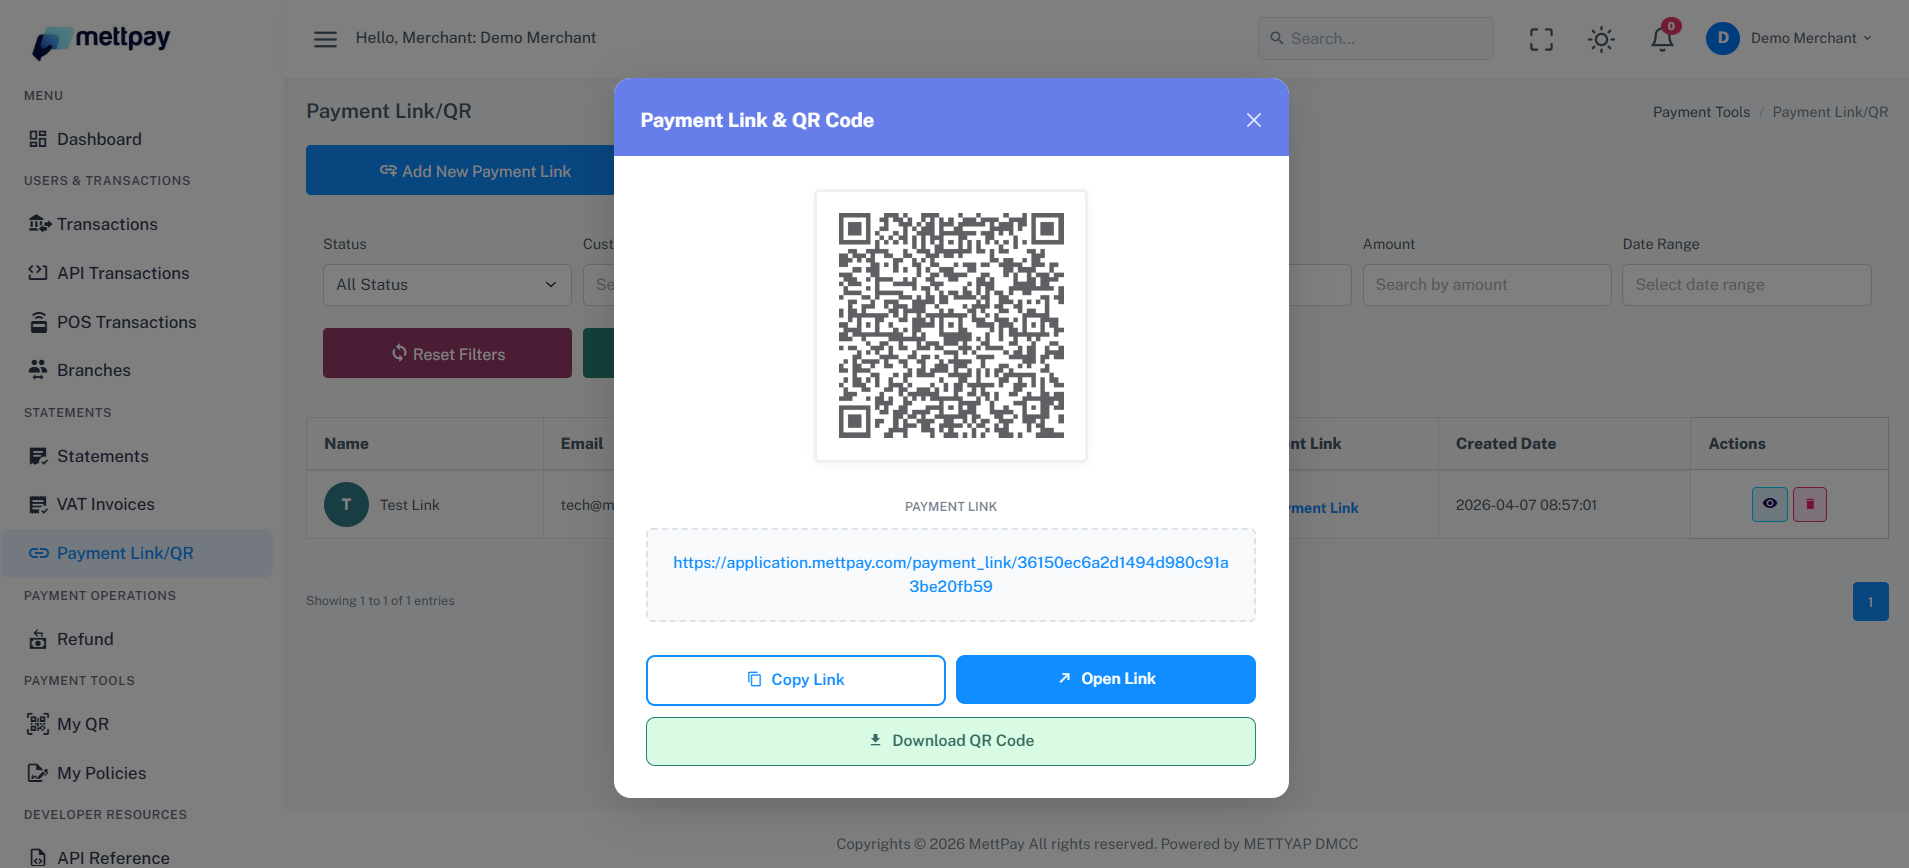
Fill in the required order information in the side panel and click Submit. Upon successful submission, you will be redirected to the Payment Link Table.
The payment link and order details will automatically be sent to the customer via WhatsApp and email.
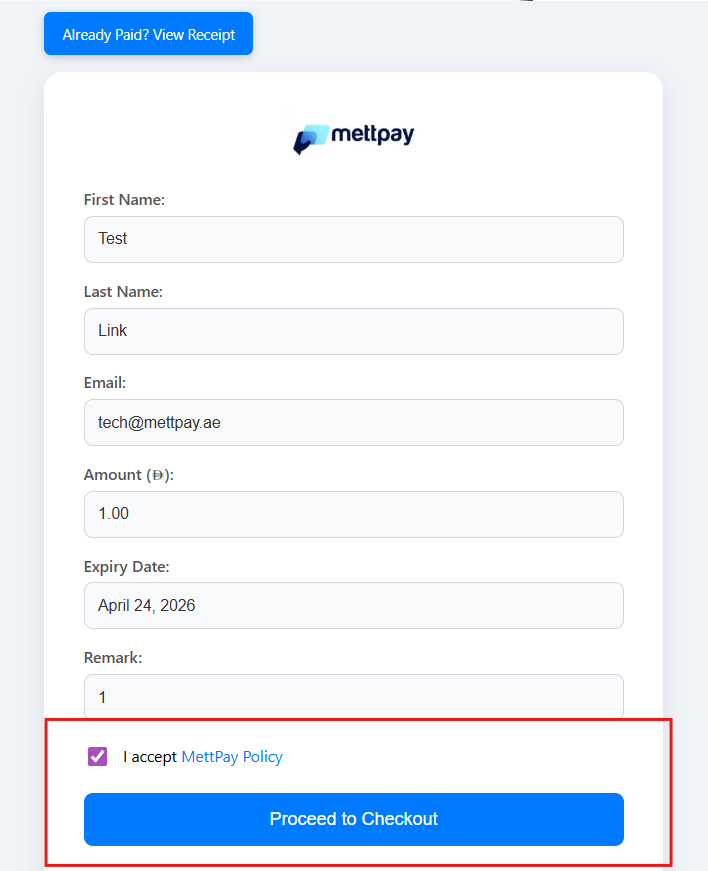
Customer Accesses the Checkout Page
The customer opens the payment link, which redirects them to the Checkout Page. Here, the customer must review and accept the applicable policies before clicking Proceed to continue.
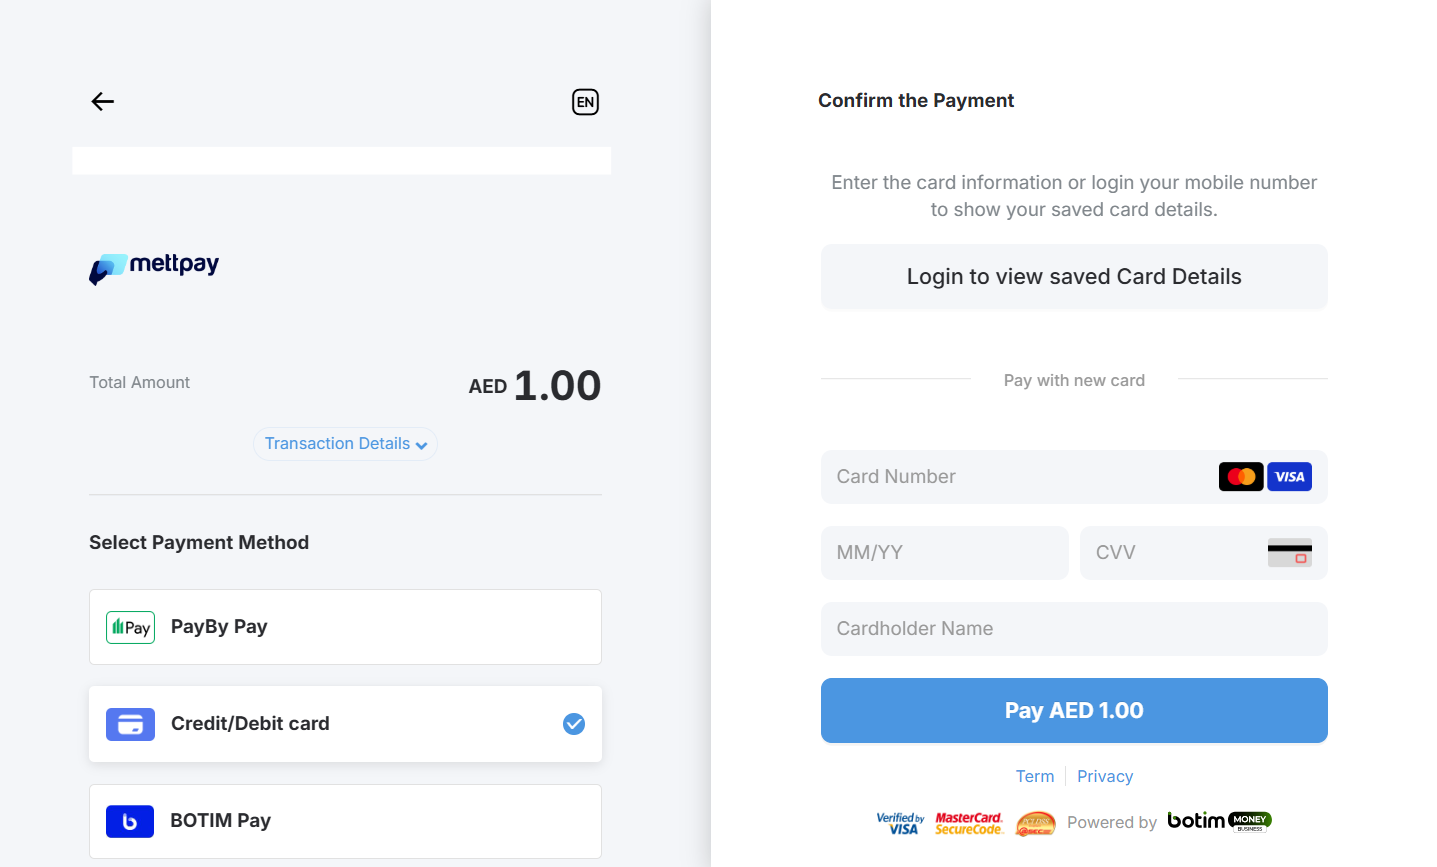
PayBy Checkout — Select Payment Method and Enter Card Details
After clicking Proceed, the customer is redirected to the PayBy Checkout Page, where all available payment methods are displayed. The customer selects a payment method and enters the required details — for example, card number, expiry date, and CVV for card payments.
Payment Confirmation and Receipt
Once the payment is authenticated (e.g., via OTP), the customer is automatically redirected to the MettPay Receipt Page within a few seconds, confirming a successful transaction.
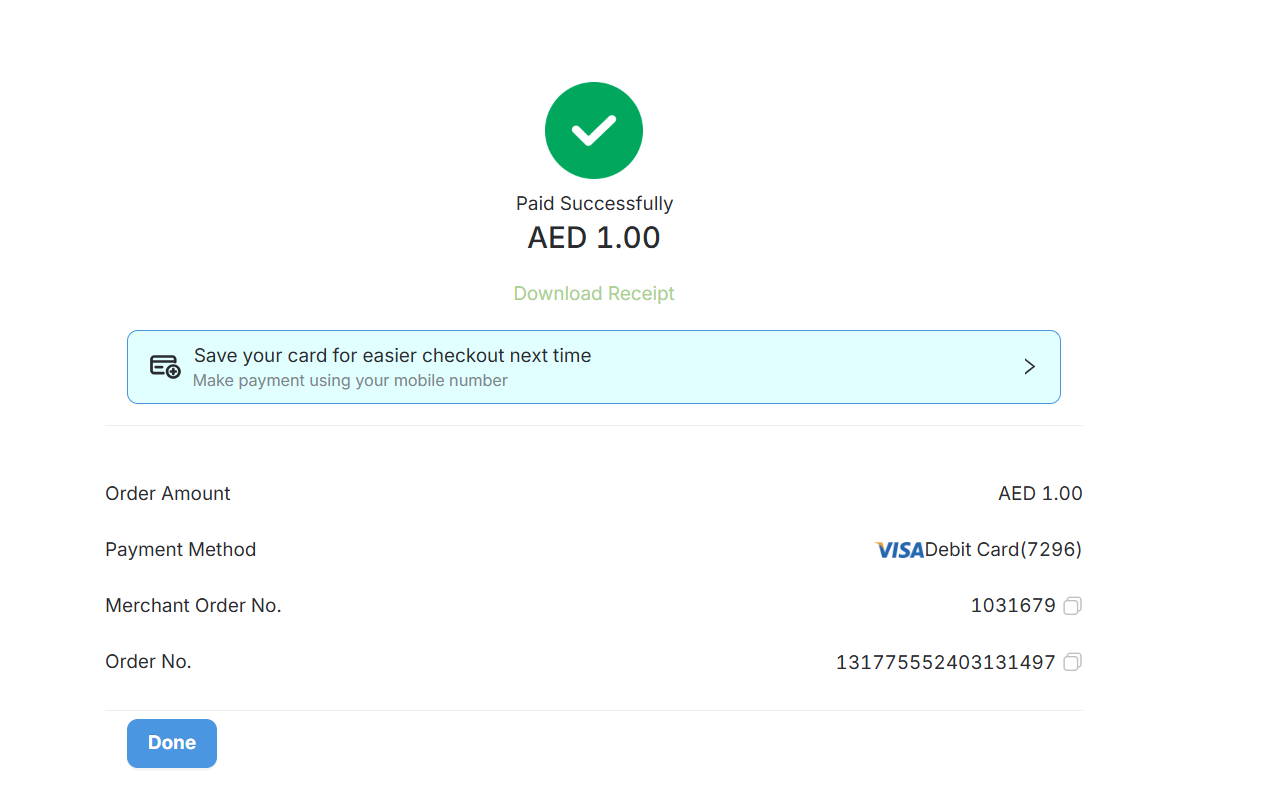
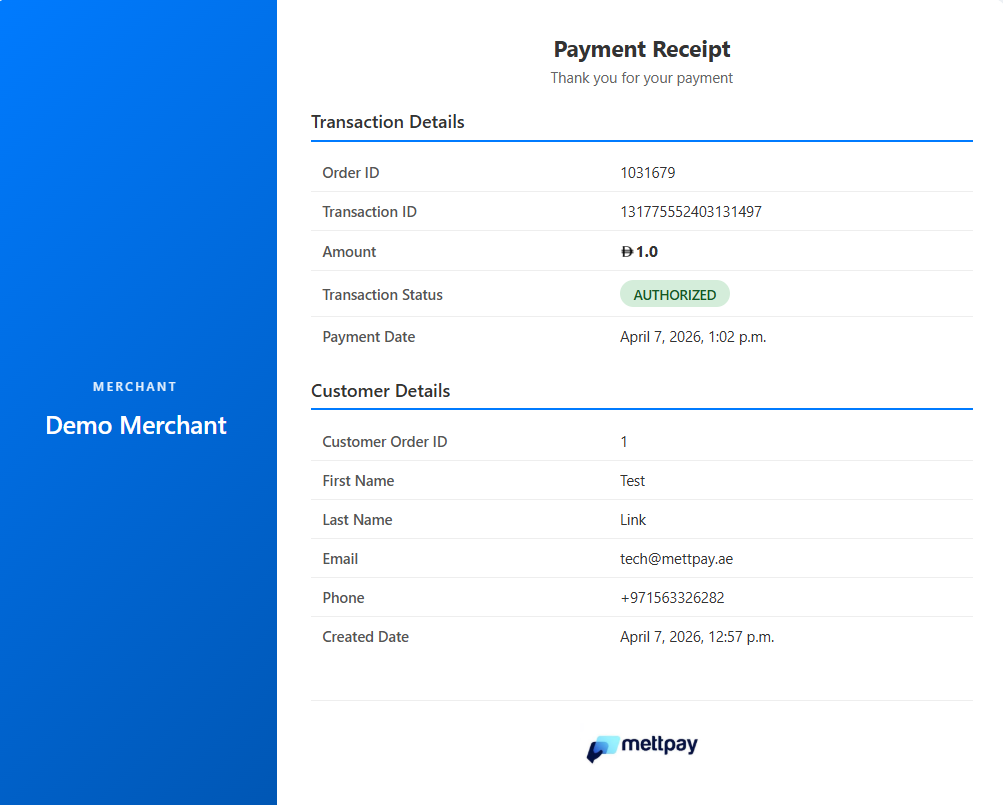
On the merchant side, the transaction will appear as successfully paid in the portal, and the merchant can view or download the receipt at any time.
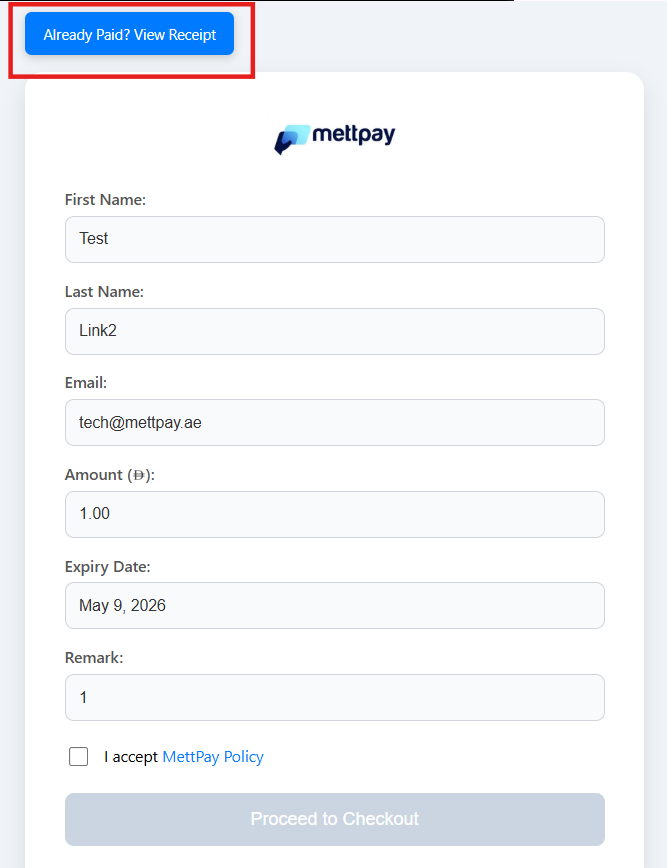
Using the "My QR" Feature
The same payment flow can also be initiated using the "My QR" feature. In this method, the customer manually enters the order details themselves. Once submitted, the flow continues from Step 3 (Checkout Page) onwards.
This option is particularly useful for walk-in customers or situations where payment links need to be generated on the spot without pre-filling customer information.
Handling Interrupted Flows — Sync Button
In some cases, the customer or merchant may not see the receipt page — for example, if the browser is closed before the redirect completes. The Sync Button is designed to resolve this.
When Does This Happen?
- A payment link is created and sent to the customer.
- The customer clicks Proceed on the Checkout Page.
- The customer is redirected to the PayBy Checkout Page and enters card details.
- The browser is closed before reaching the MettPay Receipt Page.
- The link continues to redirect to the Checkout Page, even though payment may have been completed.
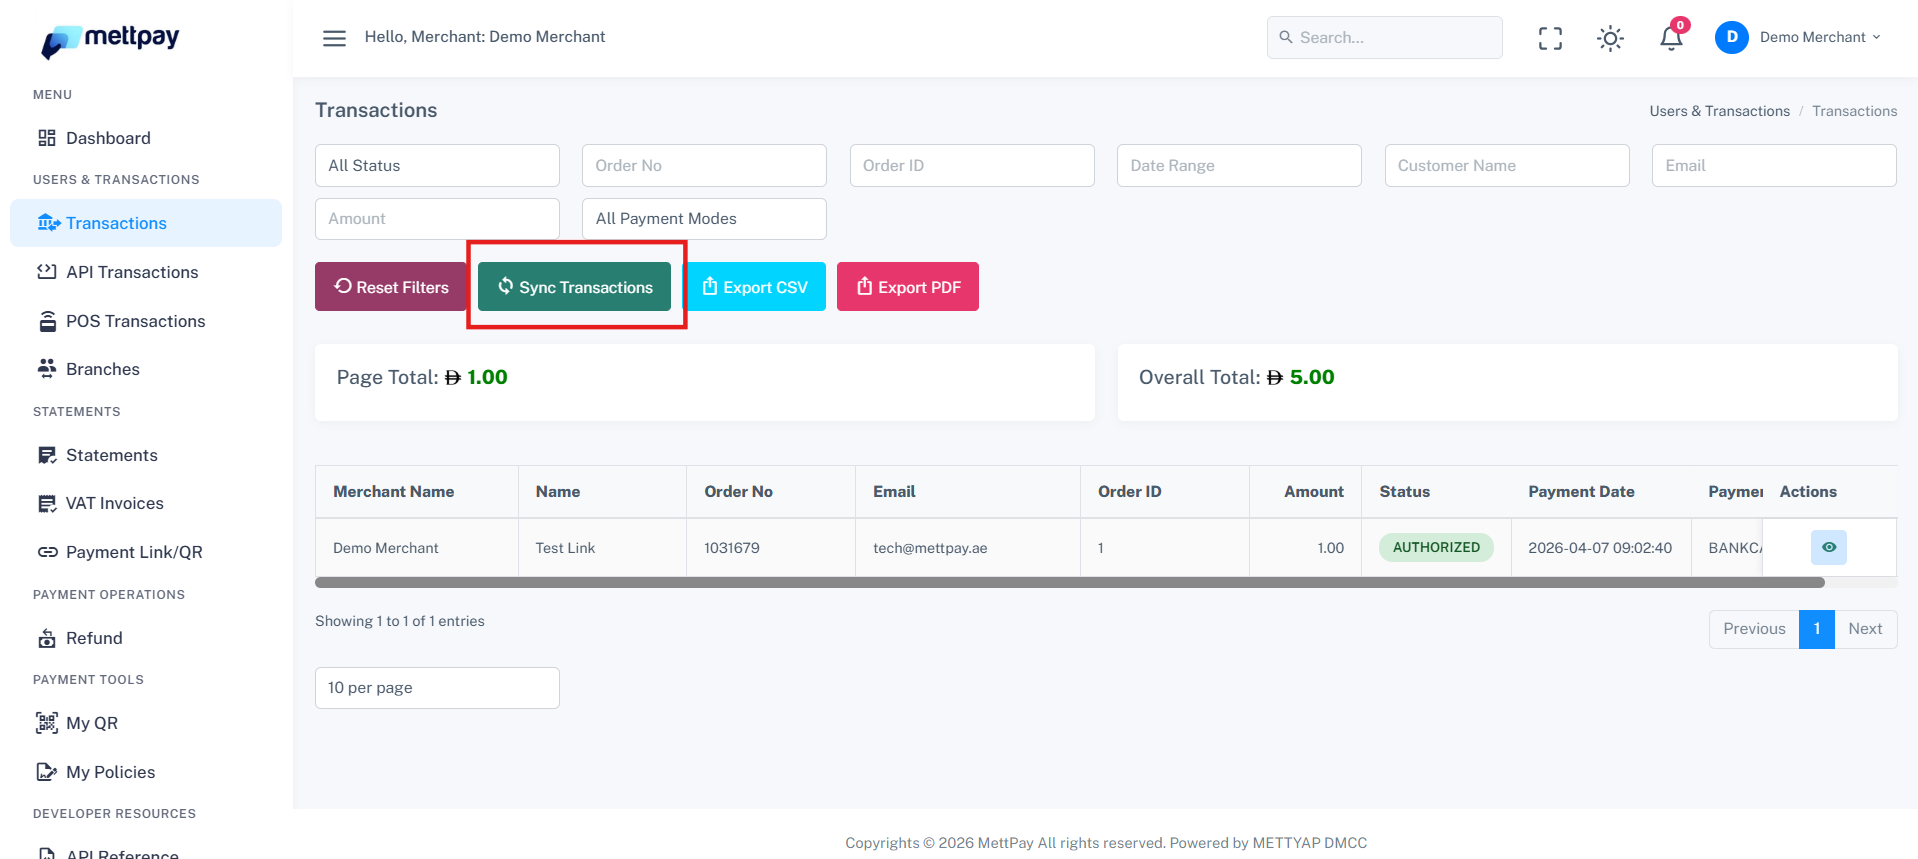
How to Use the Sync Button
MettPay provides two Sync options to retrieve the payment status and receipt in this scenario.
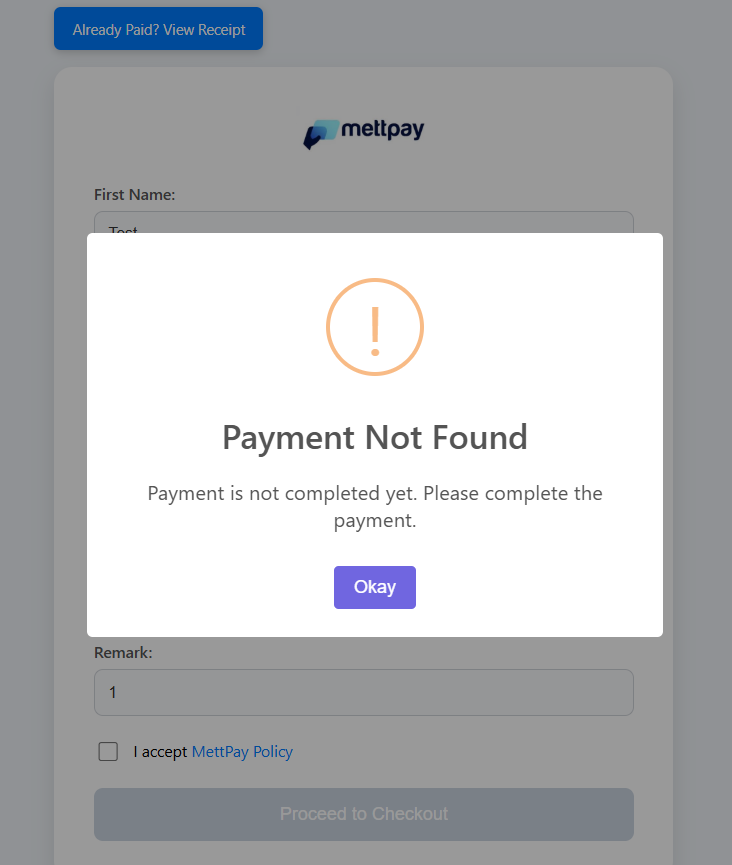
Sync Button Outcomes
- If the payment was successful — the merchant is redirected directly to the Receipt Page.
- If the payment was not completed — a popup message displays the current payment status.